
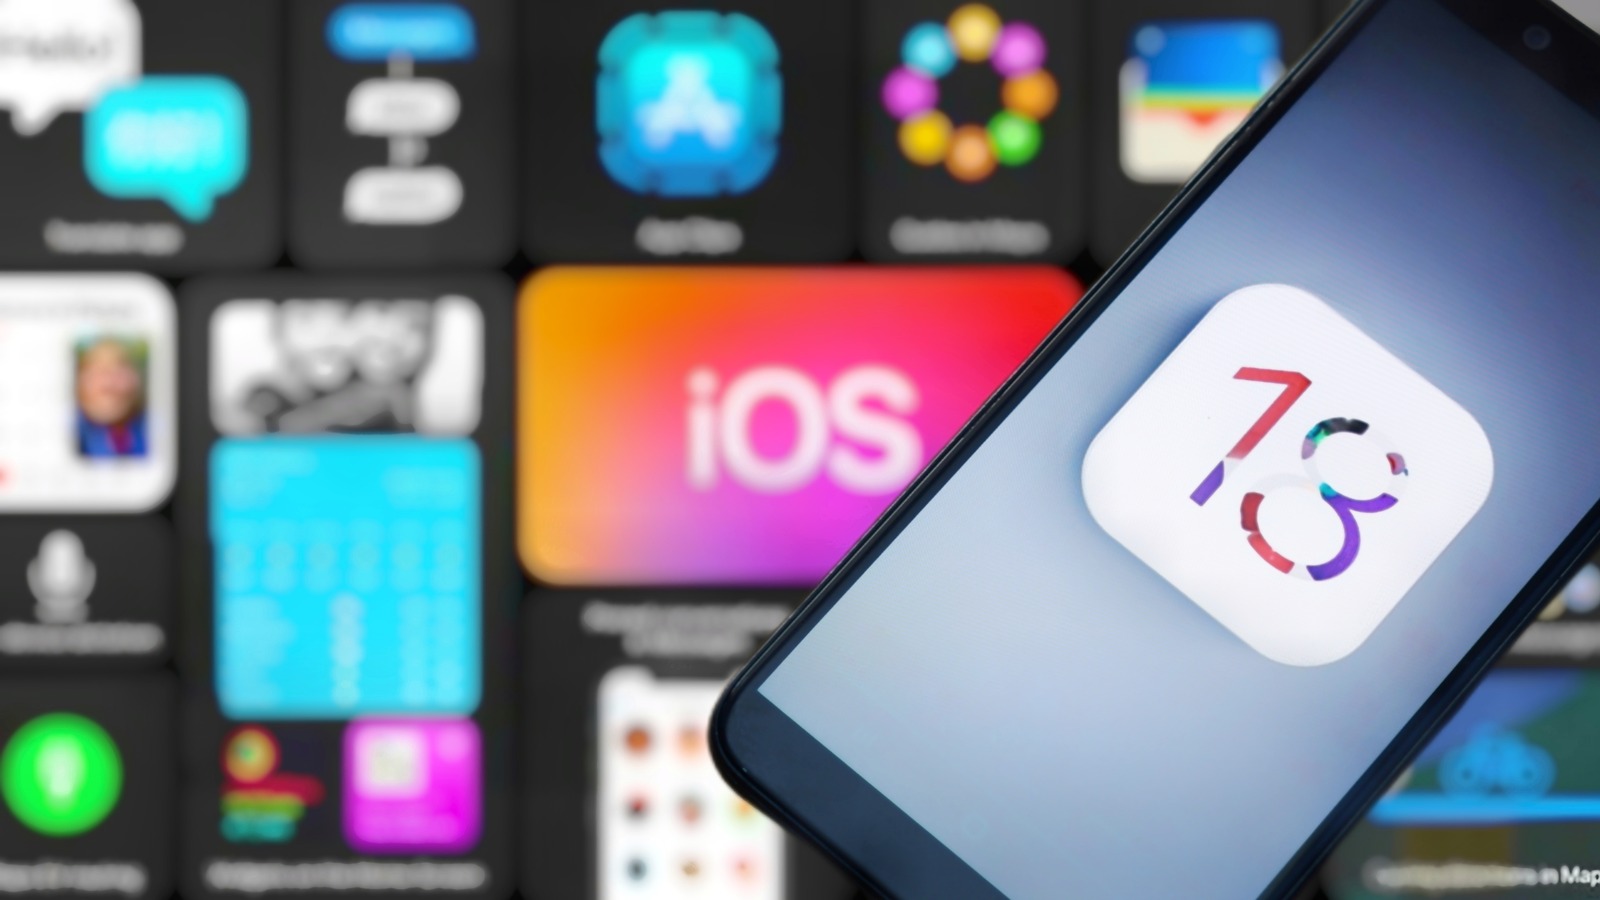
Everybody’s been excited about the launch of the new major iOS update, and for good reasons. iOS 18 comes with redefined default apps – you can now erase objects in Photos, convert measurements and currency in Calculator, integrate Reminders into Calendar, and add text effects to your chats in Messages. You also have a new Passwords app that keeps your login credentials in a safe space and a host of accessibility features to make using your device more convenient.
Advertisement
But among the various updates that came with iOS 18, arguably the most exciting are the new customization features. After all, who doesn’t want to personalize their devices to better fit their needs? What adds to the excitement is that some of these features have been a long time coming, finally delivering on what users had been requesting for years now. So now that you’ve upgraded your iOS-18-compatible iPhone to the latest OS version, how can you customize it?
Modify your Control Center

Unlike Android’s Quick Settings, iOS’ Control Center didn’t come with personalization options until iOS 18. With the newest OS iteration, you get more say in how your Control Center looks. You can shuffle around the controls, add new ones without going into Settings, and even create multiple pages with custom groups of controls. The control library also expanded, allowing you to pick from over 70 controls. Another new feature of the Control Center is resizeable controls. Most can be set as 1×2 icons (slim rectangle) or 2×2 icons (square). Some, like Now Playing and the connectivity group (e.g., Wi-Fi, Airplane Mode, AirDrop), can expand to fill an entire page. Others, including the sliders for text size, brightness, and volume, can’t be resized, though. To personalize your Control Center on iOS 18, here’s what you need to do:
Advertisement
- Swipe down from the upper right corner.
- Tap on the plus icon on the top-left of the screen.
- Press the minus icon on the controls that you want to delete.
- Add new controls by tapping on Add a Control on the bottom, browsing through the available options, and then selecting ones you want to use.
- Resize your controls. First, make sure you have enough space next to the control. Then, touch and hold the gray handle in the bottom-right of the control and drag it to the right to change the size.
- Reorganize the layout of your controls on your favorites page by dragging and dropping them in place.
- To create a new Control Center group, swipe up to go to the next page and press Add a Control. Then, choose your controls and rearrange them whichever way suits your needs.
Once done, you can tap on any empty space on the Control Center to save your new settings.
Switch the lock screen shortcuts
Arguably, one of the most annoying things about the previous iOS versions is the flashlight on the lock screen. It’s become a rite of passage for iPhone owners to flash somebody with their devices when they didn’t mean to. Thankfully, iOS 18 now allows you to remove the flashlight from your iPhone’s lock screen and, along with the camera shortcut, swap it out for a more useful tool. The new shortcuts you can use include controls for your camera, your clock, connectivity settings, utilities such as the calculator or magnifier, and various accessibility settings. including live captions, voice control, and hover typing. Here’s how to switch the lock screen shortcuts on your iPhone:
Advertisement
- Go to your lock screen.
- Long-press on an empty space.
- Tap on the Customize button on the bottom.
- Choose Lock Screen.
- Press the minus icon on either the flashlight, camera, or both to remove the current shortcut.
- To use a different shortcut, tap on the plus icon.
- Scroll through the list of available options to find your preferred shortcut. Alternatively, type the control name in the search bar to pull it up quickly.
- Tap on your shortcut of choice to add it to your lock screen.
- Press Done in the top-right corner and tap on your lock screen again to exit the lock screen customization page.
You should now see your new shortcuts on your lock screen. To use them, just do what you normally do on lock screen shortcuts: press and hold on the right or left shortcut, and the app or utility you added should automatically open upon release.
Rearrange your home screen
For years, Android users have enjoyed the ability to customize their home screens any way they want, whether that’s arranging the app icons in a triangle shape, lining them up around the border of the screen, or putting them in grids over the wallpaper. iOS home screens, on the other hand, weren’t as tweakable. This changed with the release of iOS 18, and finally, iPhone and iPad users can also rearrange their home screens however they like.
Advertisement
To customize your home screen, just drag and drop the icons anywhere on the screen. They’ll automatically stay in place, unlike on previous iOS versions, where they would snap back to the default grid. If you want to add a new app icon on the home screen, swipe right to go to the App Library, touch and hold the app you want, and then drag it to the left until you get to your preferred home screen page. You can also place folders and widgets in whichever location you need them to be. Unfortunately, though, this feature doesn’t apply to the Today View, as it’s exclusive to the home screen. If you ever need to reset the home screen to the factory default layout, here’s how:
- Launch the Settings app.
- Navigate to General.
- At the bottom of the page, select Transfer or Reset iPhone.
- Press Reset.
- Choose Reset Home Screen Layout from the menu.
- Tap on Reset Home Screen to confirm.
Your home screen should now return to its original layout.
Advertisement
Change the appearance of the app icons and widgets
Among the coolest iOS 18 features you might have missed is the ability to edit how your app icons and widgets look on the home screen. Yes, on top of organizing them any way you like, you can also modify their colors and size. Follow these steps to do so:
Advertisement
- Go to your home screen.
- Touch and hold on an empty space.
- Tap the Edit button in the upper left corner of the screen.
- Select Customize from the menu.
- To change the size of your app icons and folders, select Large. This will remove the app names and make the icons bigger. Press Small to return to the default size with app names.
- To change the color of the app icons, folders, and widgets, choose one of the following:
- Light to turn the background color of the apps white.
- Dark to make the app backgrounds black.
- Automatic to automatically switch between Light and Dark depending on the time of day.
- Tinted to add a color tint and make the icon background black. Adjust the top slider to pick a primary color and then move the bottom slider to select a specific shade of that color. Alternatively, tap on the dropper in the upper right corner to choose a color from your wallpaper instead. This makes the tint more cohesive with your current wallpaper.
In the Customize section, there’s also an option to darken your wallpaper to make the app icons and widgets pop out more. Simply tap on the sun icon on the left-hand side to do so. Then, tap anywhere on the home screen to save the changes. Do note that any customizations you make on the home screen will also apply to your Today View.
Hide apps from your home screen
Accessing your favorite apps from the App Library can be a chore, since the apps are automatically sorted into different folders that you then have to dig through. Fortunately, iOS lets you add apps to your home screen to make them more accessible. The downside, though, is that this can be done to all your apps. So what if there are some apps you’d want to hide from the home screen and prevent being added again? You can easily hide apps with iOS 18. Here’s a quick step-by-step guide on how to achieve this:
Advertisement
- On your home screen, find the app you want to hide.
- Long-press on the app icon.
- Select Require Face ID (or Passcode) from the menu that appears.
- Choose Hide and Require Face ID (or Passcode).
- Use your Face ID (or passcode) to proceed.
- Hit Hide App to confirm.
The app you’ve hidden will then be deleted from the home screen, and you can’t add it back unless you unhide the app. You can find all your hidden apps by going to the App Library (repeatedly swipe right on the home screen until you get to the App Library page) and scrolling to the bottom to the Hidden folder. Unlike the regular folders, no one can see what apps are in the Hidden folder. You would need to tap on it and use your Face ID (or Passcode) to reveal the apps. You’ll also need to authenticate with your Face ID (or Passcode) to launch the app. Once you leave the App Library, the Hidden folder will automatically hide the apps again.
Comments are closed.