
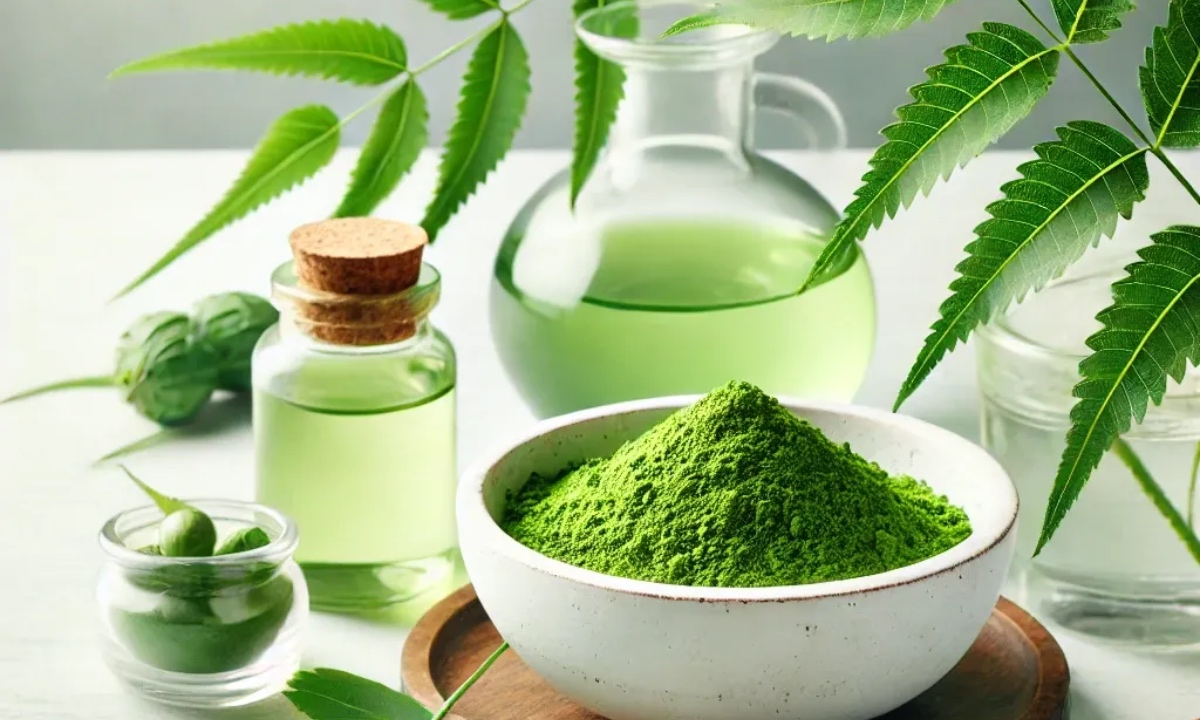
DIY Neem Toner: Neem is considered very important in Ayurveda. It helps in removing many skin problems. If you have problem of pimples, oil or blemishes on your skin, then DIY Neem Toner can be very beneficial for you. It is completely natural and can be made easily at home.
Benefits of DIY Neem Toner
- Reduces pimples and acne.
- Removes excess oil from the skin.
- Cleans the pores.
- Helps in lightening blemishes and spots.
- Gives freshness and coolness to the skin.
Ingredients Required
To make DIY Neem Toner you will need very few ingredients:
- 10–15 fresh neem leaves
- 1 cup water
- 1 tsp rose water (optional)
- 1 tsp aloe vera gel (optional)
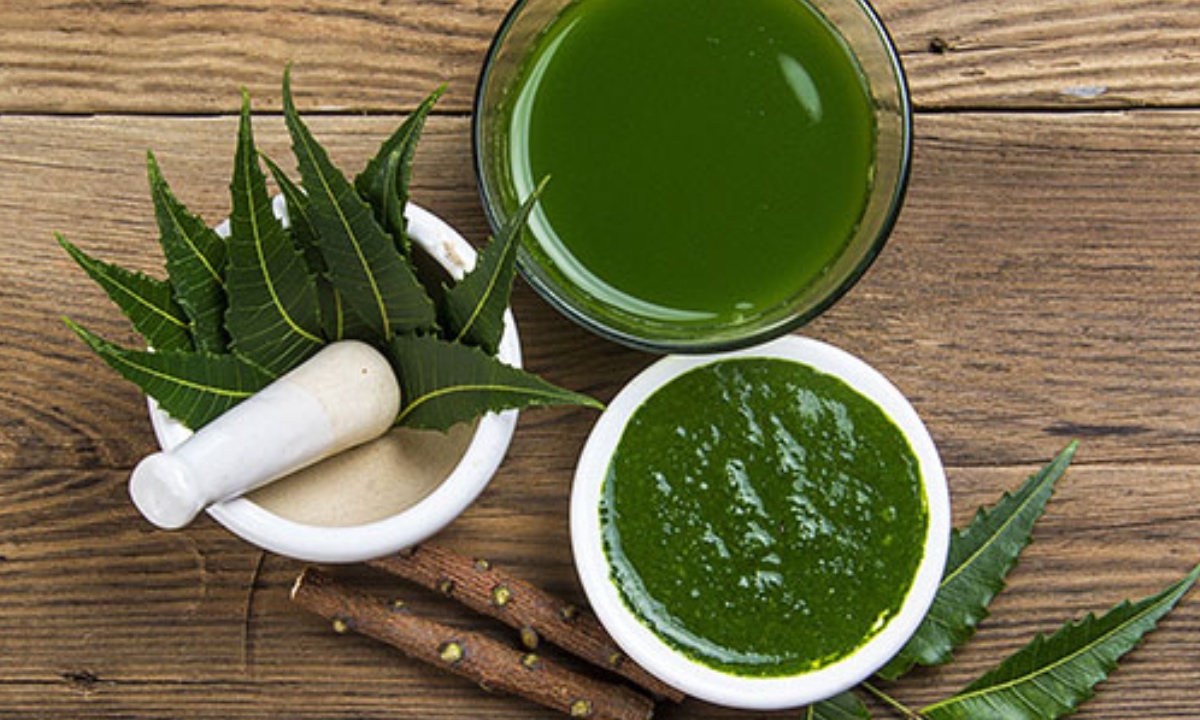
How to Make DIY Neem Toner
- Take 1 cup of water in a pan and add neem leaves in it.
- Boil it for 5–7 minutes until the color of the water turns light green.
- Turn off the gas and let the water cool down.
- Now filter it and fill it in a clean bottle.
- If you want, you can add rose water and aloe vera gel to it.
- Mix everything well.
- your diy Neem Toner is ready.
How to Use Neem Toner
- First of all clean the face with face wash.
- Apply toner on the entire face with the help of cotton.
- There is no need to wash it.
- Can be used 1 or 2 times a day.
Storage Tips
- Keep the toner in the refrigerator.
- Use within 5–7 days.
- Always use a clean and dry bottle.
Precautions
- If you have very sensitive skin then do a patch test first.
- If irritation or allergy occurs, stop use immediately.
- Avoid applying around the eyes.
Also see:-
- Homemade Ubtan: Get spotless and soft skin with 100% natural Ubtan
Fennel Seeds For Health: A little fennel, big benefits! Know complete information
Comments are closed.