
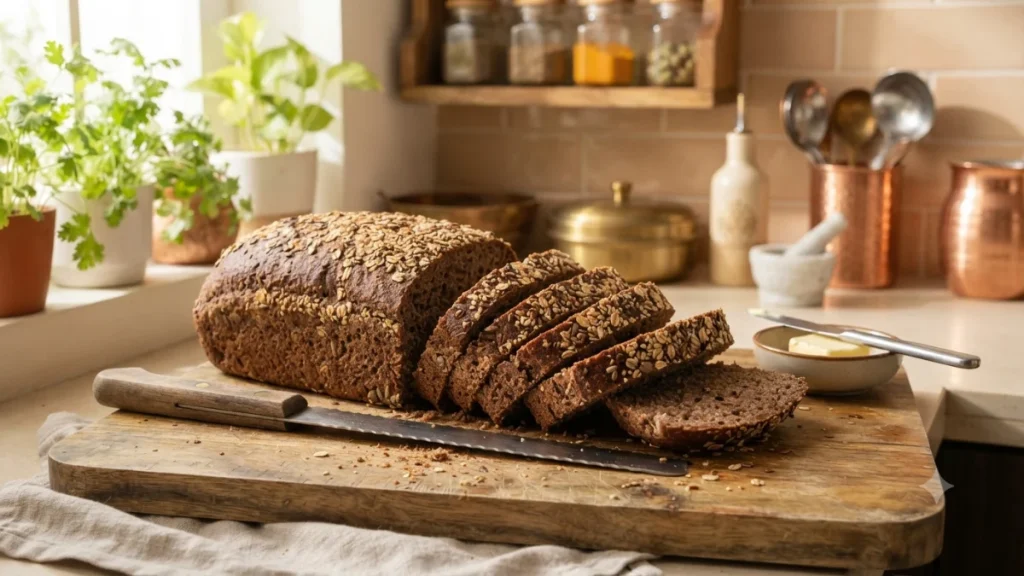
Ragi Bread Recipe: Make tasty and gluten-free Ragi bread at home with this easy method

In today’s era, people are making major changes in their eating habits to stay healthy and adopt a better lifestyle. Keeping fitness in mind, people are now looking for healthy alternatives instead of the usual white bread with flour. After brown bread or multigrain bread available in the market, now Ragi Bread is becoming the first choice of people. This bread is not only completely gluten-free, but is also excellent in terms of both taste and health. This combination of old-fashioned millets and today’s baking style can be easily prepared at home.
Ragi Bread Recipe: Make tasty and gluten-free Ragi bread at home with this easy method
Ingredients required to make Ragi bread
To prepare pure and chemical-free ragi bread at home, you will need the ingredients given below. Psyllium husk is used for market-like binding in:
- Ragi flour: 1½ cups (about 200 grams)
- Psyllium Husk/Isabgol: 3 tbsp
- Instant dry yeast: 5 to 6 grams
- Himalayan Pink Salt: 1/2 tsp
- Oil: 2 tbsp
- Lukewarm water: 2 cups
- Jaggery (crushed): 2 teaspoons
- Milk: As per need (for topping)
- Oats or mixed seeds: 1 teaspoon (for garnishing)
- Butter: for topping after baking
Understand the method of making Ragi bread step by step
Ragi does not contain gluten, hence while kneading its flour it does not get the elasticity like traditional wheat flour. Follow these steps to bake it correctly:
First of all take a big bowl. Add 200 grams of ragi flour and 3 tablespoons of psyllium husk and mix well. Psyllium husk works to bind gluten-free flour together. Now add jaggery, Himalayan pink salt and 5-6 grams of instant dry yeast to this dry mixture. Use a whisk to mix all the dry ingredients together so that the yeast is evenly distributed throughout the dough.
After this, heat two cups of water slightly (lukewarm). Slowly add this hot water to the flour mixture and mix with hands. Ragi flour absorbs water, so keep stirring while adding water and knead a sticky dough. Cover this kneaded flour mixture with a cotton cloth and keep it in a warm place for at least 2 hours so that the yeast can activate and the dough can rise properly.
After two hours, when the dough rises, take it out. Keep in mind that rolling pin should not be used on this dough at all. Apply a little oil to your hands and give the dough a loaf shape. Now take a baking tin and apply oil well on its surface. Carefully place the dough shaped with hands in this tin. Cover the tin and leave it again for 45 minutes, so that it sets inside the tin once again.
Correct way of baking and serving
After the stipulated time is over, apply a little milk on the upper surface of the dough with the help of a brush and sprinkle oats or favorite seeds (like flax or pumpkin seeds) on top. Meanwhile, pre-heat your oven at 200°C. Place the bread tin in the pre-heated oven and let it bake for 30 minutes.
“Temperature and timing are of great importance in gluten-free baking. Ragi bread should never be cut immediately after baking, as the steam inside helps the bread set.”
— Baking Expert, Local Kitchen Network
After 30 minutes, take the bread out of the oven and immediately apply butter on the hot bread. Applying butter keeps the top layer of bread soft. The most important thing is to let the bread cool completely. Cut the bread slices only after it cools down. If you cut hot bread, it may fall apart. Your homemade, 100% gluten-free ragi bread is ready. You can eat it by toasting it for breakfast or making a sandwich.
Comments are closed.