
The hassle of going to the parlor is over, make Ombre Nails at home with a kitchen sponge, see the easy steps: – ..
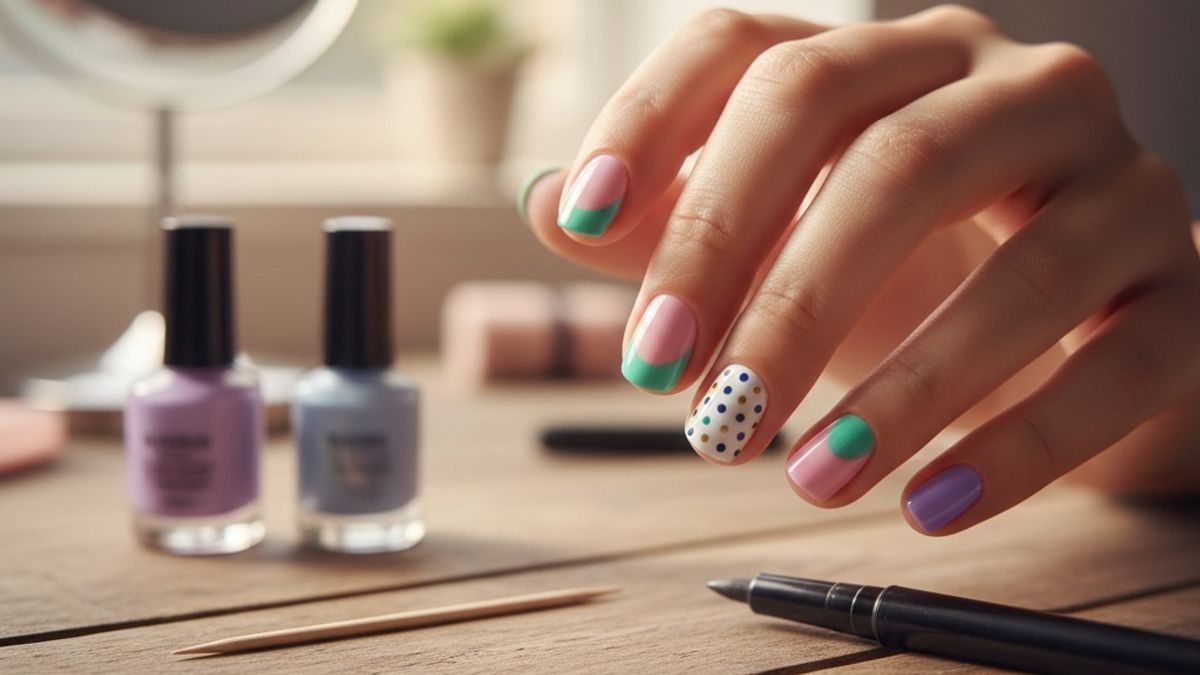
News India Live, Digital Desk: Ombre nail art, in which two or more colors appear mixed into each other (Gradient), is quite popular nowadays. ‘Sponging method’ is the best way to make it perfect at home.
Essentials
Two or three nail paints: (Contrasting colors of your choice, like light pink and dark pink)
Base Coat: (white or transparent)
Kitchen Sponge: (cut a small piece)
Nail polish remover and earbuds: (to clean up the edges)
Top Coat: (to shine)
Method to make nail art (Step-by-Step Guide)
Prep Your Nails: First clean your nails and white nail polish Apply one coat of. The white base helps the colors to be vibrant. Let it dry thoroughly.
Paint the Sponge: Take a flat piece of kitchen sponge. Make horizontal lines of nail polish of your choice on it. For example, apply a dark shade at the bottom and a light shade at the top. Make sure the colors are right next to each other.
Dab on Nails: Now gently press this sponge on your nail like a ‘stamp’. Move it up and down a bit so that the line between the two colors gets blurred and a beautiful gradient effect Came.
Cleanup: During sponging, the color will also be applied to the skin around the nails. To clean it, dip the earbuds in remover and carefully clean the edges with your fingers.
Apply Top Coat (The Finish): When the nail art is dry, apply Clear Top Coat Apply. This will make your design smoother and help it last longer.
Pro-Tips for Perfection:
Skin Protection: around the nail Petroleum Jelly (Vaseline) Or apply liquid latex so excess paint doesn’t stick to your fingers.
Sponge Quality: Use a dishwashing sponge as it has smaller pores, which gives a better blending texture of the colors.
Layering: If the color seems light the first time, apply the paint again to the sponge and dab another layer.
Comments are closed.