
A well-loved coffee maker can quickly lose its charm if it is not cleaned regularly. Over time, mineral deposits from water, lingering oils from coffee beans and everyday dust can all affect the taste of your morning brew. A thorough clean not only improves flavor but also helps the machine last longer. Fortunately, freshening up your coffee maker at home is simple, inexpensive and doesn’t take much time. With just a few basic household items, you can restore your machine to its best in no time.
Why Regular Cleaning Matters
Even if your coffee tastes fine, residue quietly builds up in places you may not notice. This can encourage bacteria, slow down brewing and alter the flavor over time. Regular cleaning ensures every cup tastes as rich and fresh as it should. It also helps prevent damage caused by mineral scaling, which can affect the machine’s internal performance.
Also Read: Latte vs Cappuccino: The Key Differences Every Coffee Lover Should Know
Step-by-Step Guide To Cleaning Your Coffee Maker
1. Empty And Rinse The Carafe
Begin by discarding any leftover coffee and rinsing the carafe with warm water. This helps remove loose grounds and oils that can cling to the glass. A quick rinse also makes the next steps more effective. Taking this first step prevents old residue from mixing with your cleaning solution.
2. Prepare A Vinegar And Water Solution
Mix equal parts white vinegar and water to create a natural cleaning solution. Vinegar helps dissolve mineral build-up and sanitizes the internal components. It’s a gentle yet powerful way to refresh the machine without harsh chemicals.
3. Run A Cleaning Cycle
Pour the vinegar solution into the water reservoir and start a brewing cycle. Let the machine run until it reaches the halfway point, then switch it off and allow the mixture to sit for about 30 minutes. This pause helps the solution break down stubborn deposits inside the system.

Photo Credit: Freepik
4. Finish The Brewing Cycle
After the resting period, turn the machine back on and allow the cycle to complete. You may notice deposits or discolored water in the carafe, which means the solution is doing its job. Once finished, discard the liquid and give the carafe a quick rinse.

Photo Credit: Freepik
5. Run Two Rinsing Cycles
Fill the reservoir with fresh water and run a full brewing cycle to flush out any lingering vinegar. Repeat this process once more to ensure no traces of the cleaning solution remain. Your machine should now smell neutral and clean.
6. Clean The Carafe And Removable Parts
Wash the carafe, filter basket and any removable components with warm soapy water. These parts often hold oils and residue, so giving them a gentle scrub helps keep every brew tasting fresh. Allow them to dry fully before reassembling.
Also Read: Which City Is Known As The ‘Coffee Capital Of India’

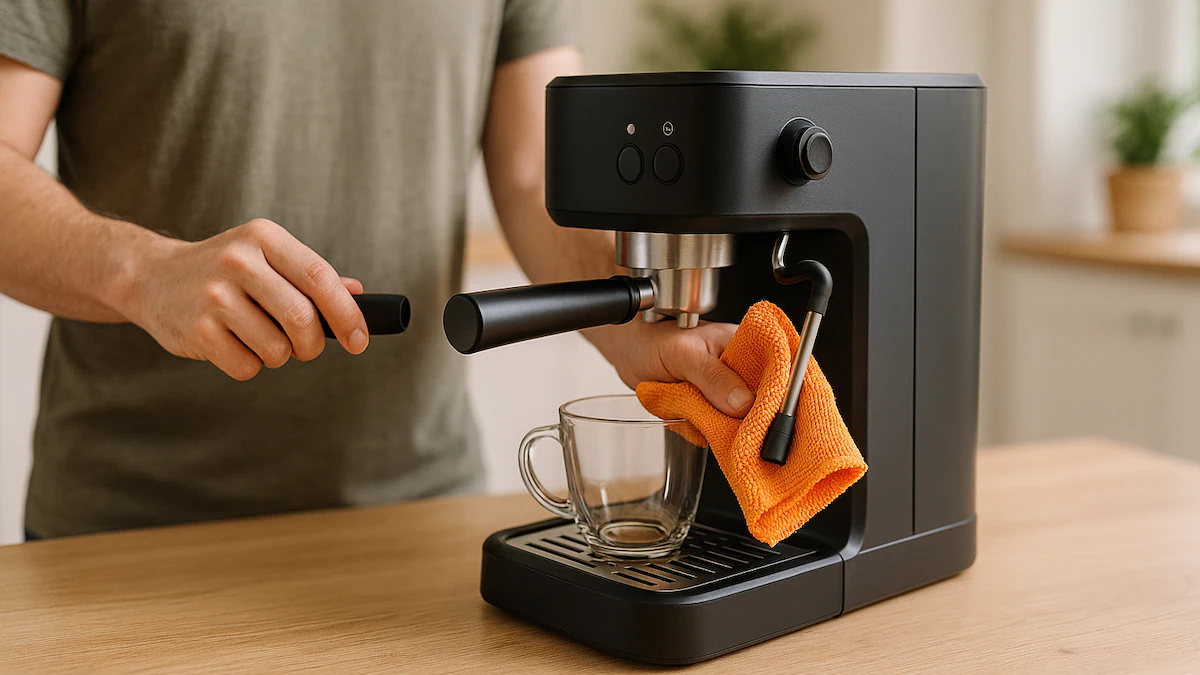
7. Wipe Down The Exterior
Finish off by wiping the outside of the coffee maker with a soft, damp cloth. This removes fingerprints, dust and spills that build up over time. A clean exterior makes the whole machine look newer and more inviting.
Clean your machine regularly and enjoy smoother, fresher cups every day.
Comments are closed.