When it comes to caring for your car, you may think of mechanical maintenance tasks like topping off engine oil or swapping out tires first. That’s a fair outlook, but sometimes, all you need is a good clean. There’s more than one way to clean a car: you could get a comprehensive cleanup at a local car wash, or you could roll up your sleeves with a hose (or a bucket of water), some towels or a sponge, and car soap — you’d usually want to avoid dish soap if you can. So, where exactly do magic erasers come into the mix?
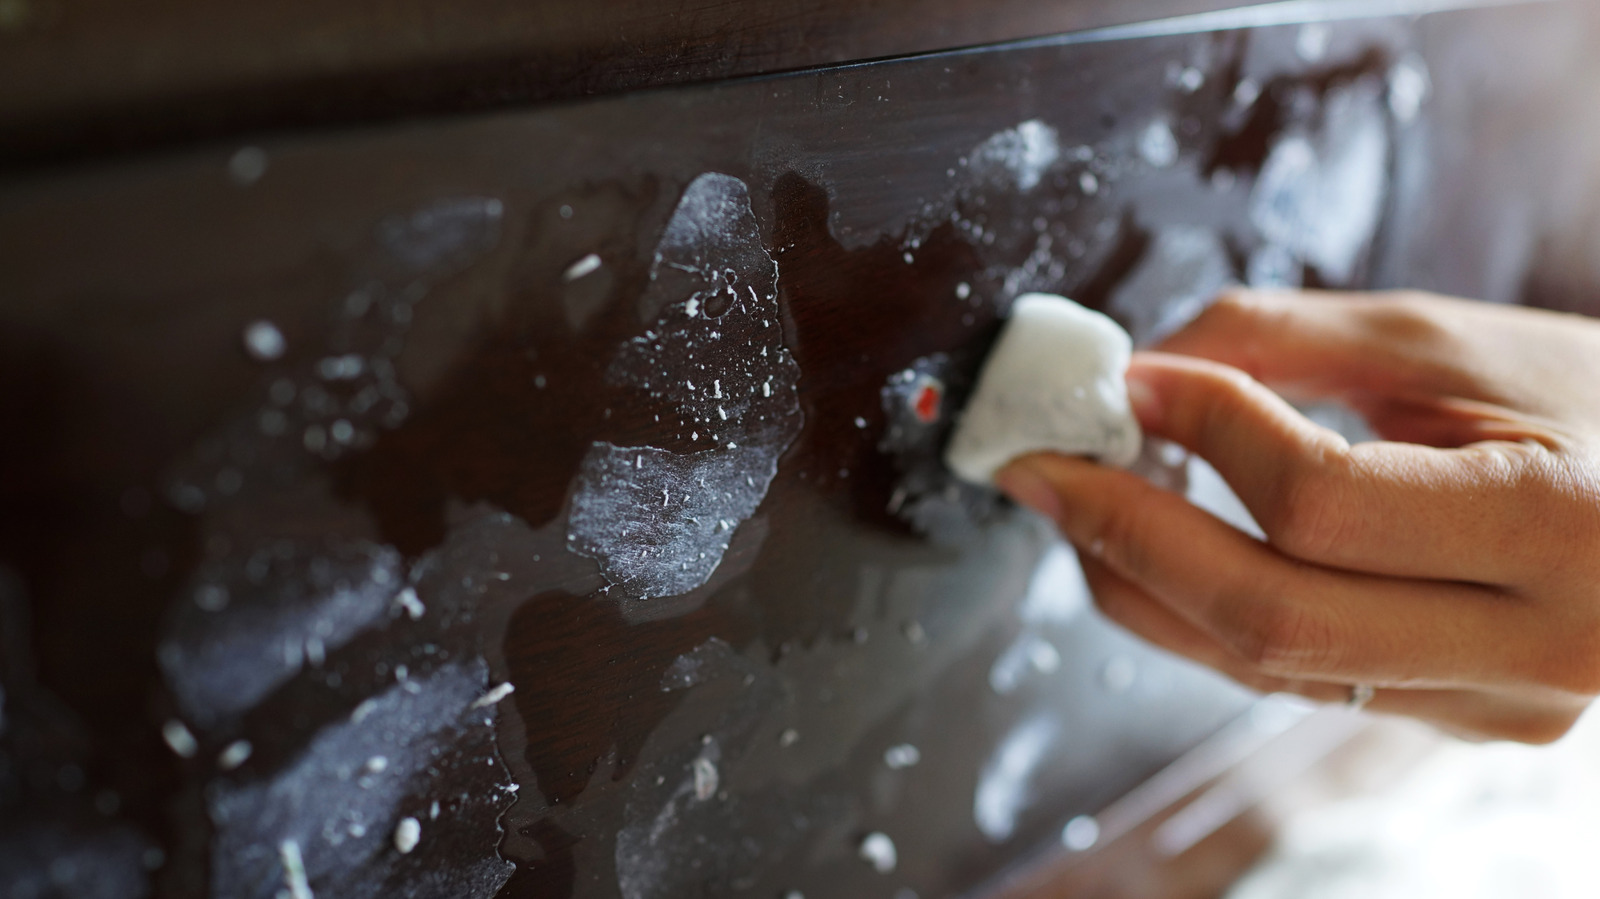
In a nutshell, magic erasers are specialized cleaning sponges made from melamine foam. They have an abrasive texture (almost like sandpaper), which lets them clean tough stains without help from any cleaning agents. Using one is pretty straightforward: dunk the magic eraser in some water and squeeze the foam firmly to have it ready to clean stained surfaces. You’ll find most uses for a magic eraser indoors, from crayon scribbles on the walls (if you have little ones) to stubborn grime on stoves. Given their efficacy and versatility, you might be tempted to test the extent of the “magic” on your car.
However, you should exercise caution before using a magic eraser to clean any of your car’s surfaces. Some parts can handle its rough texture just fine, while others shouldn’t come into contact with a magic eraser under any circumstances. Here, we cover both groups.
Clean: Windows
We all know how inconvenient it is to drive around with a dirty or stained windshield, not to mention the aesthetic impression it gives your vehicle. The traditional fix would be to dip a towel or sponge in some water and run it across the surface. Unfortunately, some stains don’t wipe off that easily. Ink, paint, and — if you’ve ever had the misfortune — bird poop can be notoriously difficult to clean from glass surfaces.
A magic eraser can come in handy in such scenarios. Before you apply the eraser, wipe down the window with a dry microfiber cloth; that way, you’re less likely to leave greasy streaks on the glass. Then, immerse the magic eraser in some warm water and wipe. In the few dire cases where it still can’t remove the stain, apply some isopropyl alcohol or toothpaste to the glass, then use the magic eraser again.
There are a few caveats, though. First, don’t use it on tinted glass — we’ll discuss this in detail later. Second, while window cleaning is one of the more popular use cases for magic erasers on cars, consult your owner’s manual before using one. Recommendations can vary by brand. For instance, Dodge explicitly warns against using abrasive window cleaners on the inside of the glass in its 2019 Journey manual. Kia, on the other hand, lists magic erasers in its recommended cleaning materials for the inside of a car windshield.
Avoid: Exterior paint
Since magic erasers can clean some untinted glass windows, you might be tempted to apply them to tough stains elsewhere, including the bodywork. However, this is one area you’ll want to avoid touching with a magic eraser under any circumstances, regardless of how effective you think it might be.
The reason you should avoid contact with your car’s paint job is simple: scratches. Wax and clear coat are vulnerable finishes that scratch easily — they’re usually paper thin, and when they wear away, the paint itself is exposed to fading, discoloration, and eventually rust. Given how thin paint films can be, an abrasive cleaner like a magic eraser can easily strip the protective coats from your car along with whatever dirt or stain you’re trying to remove.
Remember that paint repair isn’t always cheap. A shallow scratch can set you back up to $250, while body shop repairs for deeper damage can run into the thousands. So, it’s in your car’s best interests to keep a magic eraser away from its exterior paint. You can avoid needing special treatment for stains by inspecting your bodywork regularly; that way, you can get to them before they dry. In cases where they’ve already crusted over, dedicated solvents and cleaners like remover sprays can soften the crusts. Watch out when selecting a brand, though. Some sprays might strip the paint along with the stains.
Clean: Scuff marks on plastics
Caring for your car’s interior is a different ball game from caring for the exterior. Where you’d liberally spray and hose down the outside with water and soap, you’d typically dab at stains on the upholstery or carpets with a wet cloth. The reason is that the interior is harder to dry completely — and nobody likes being in a car that smells damp. Unfortunately, that restriction means that scuff marks that would ordinarily be cleaned with soap and water are often left to set on the plastics if you don’t get to them quickly enough.
That’s another area that magic erasers can clean. From door sills to the dashboard and the trunk, car interiors are usually lined with plastic. To remove scuffs, grab an all-purpose cleaner and spray the fluid onto the panels you want to clean (or directly onto the magic eraser, if you prefer). Make sure the eraser is damp, then gently rub the scuff until it disappears.
However, it’s essential to remember that the magic eraser is an abrasive material — it’s almost as rough as high-grit sandpaper. Applying too much pressure while cleaning any of these plastic surfaces can wear away the surface layer. You should only use one as a last resort, and with minimal pressure. Make sure to wipe away any abraded residue after cleaning, too.
Avoid: Window tint film
We’ve talked about the conditional suitability of magic erasers for windows. Even if your manufacturer doesn’t explicitly prohibit abrasives, cleaning with a magic eraser can be a risky endeavor. That’s particularly true when it comes to tinted windows — the tinted film and the coarse texture of a magic eraser don’t mesh well. Since getting them probably cost you a good amount of money at a detailing shop, or you spent time tinting the windows yourself, steering clear of a magic eraser is the safer bet.
To understand why, let’s define window tinting. It’s essentially applying a thin laminate film to your car’s glass. That film undergoes a few procedures, such as shaping, heat shrinking, and trimming. Each of these processes impacts the material and turns it into the perfect, darkened finish you see on the roads. Using a coarse material like a magic eraser on a tinted window can easily leave pockets of scratches or discoloration — or, in the worst-case scenario, tear the already-thin film entirely.
So, if your car’s windows are tinted, it’s safer to use tint-friendly glass cleaners and microfiber towels to remove any stains. An ammonia-free cleaner or some isopropyl alcohol should do the trick; just remember to wipe gently in either horizontal or vertical swipes only (never circular motions) and use a second cloth to dry any leftover moisture to prevent streaking.
Avoid: Infotainment and touchscreen displays
Again, you might be tempted to assume the magic eraser’s ability to clean untinted windows extends to all types of glass. You’ll find glass screens and panels almost everywhere in a modern car, from the instrument cluster to infotainment displays. Since many of them are touchscreens, they’ll likely collect dust and fingerprints faster than other surfaces. However, these screens should not be touched with a magic eraser, regardless of the type of stain that needs cleaning.
The reason is that magic erasers are known to strip surfaces of their finish. Yes, they clean by absorbing particulates when they’re wet, but grinding is their primary mode of operation. In essence, you’d be grinding at the glass surface of the infotainment screens as part of the cleaning process. That’s risky for the screen; finishes like an oleophobic coating (an oil-repellent layer) that keeps the surface from smudging with fingerprints and other stains can be stripped away.
Stripping the screen’s top layer is just one possibility; a magic eraser can also worsen any existing scratches on the screens and panels. Some car manufacturers, like Ford, actually warn against using any solvents or alcohol and only recommend a microfiber cloth for cleaning displays.
Avoid: Headlight covers
A lot has changed in the automobile scene since the ’80s, especially when it comes to headlights. Halogen bulbs have given way to the sharp white light of LEDs, and the casing has changed from glass to plastic in most modern vehicles as well. If you still drive an older car with glass headlight covers, you’d probably be fine using a magic eraser to clean stubborn road dirt — glass should be hard enough to handle the eraser’s abrasive texture.
However, if you own a modern car, it’s highly likely the headlight covers are made from polycarbonate; it’s about half the weight of glass and up to 250 times stronger. They’re much harder to break, so it’s easy to see why several automakers made the switch away from glass. Unfortunately, while polycarbonate may be far stronger, it’s not as scratch-resistant as glass. That vulnerability makes magic erasers harmful to them.
If you need more convincing to keep a magic eraser away from your headlight covers, consult your owner’s manual. Dodge recommends that abrasive cleaning products not be used to clean the lenses, although this instruction may vary across manufacturers.
Avoid: Leather seats and steering wheels
Leather can be tough to manage; it’s prone to cracking, scratches easily, and soaks up moisture. Unfiltered exposure to UV rays, spilled drinks, day-to-day friction, and even trapped dirt can damage leather anywhere it appears in a car, whether that’s the seats or the steering wheel. That’s why a good rule of thumb is to clean it regularly, although the recommended frequency can range from every few weeks to once a quarter.
Since leather surfaces have a low resistance to scratches and crack easily, abrasive cleaners like a magic eraser are a threat to their finish. Using one would likely remove the material’s protective coat, which leaves it vulnerable to phenomena like dye transfer and peeling. So, leather-covered areas in your car are another area a magic eraser should never touch.
If the leather in your car needs cleaning, you should vacuum first. This way, you’ll remove any loose dirt and particles from every nook and cranny before you start wiping with a microfiber towel and a mild leather cleaner. Be sure to wipe the surface down with a dry spare towel, too — you don’t want it soaking up moisture and potentially getting damaged. It’s usually good practice to apply a leather conditioner to help moisturize and soften the leather after you’re done cleaning.
Avoid: Seat belts
Seat belts are designed to be strong and flexible. They need to maintain a high degree of tensile strength while stretching enough to securely strap car occupants to the seats in case of an accident. They’re made by weaving nylon or polyester fibers into dense patterns on specialized looms. The resulting fabric is known as webbing.
The last thing you’d want is to weaken the “webs” in a seat belt’s fabric, and that’s what you’d risk by using a magic eraser to clean it. As we’ve mentioned, magic erasers have a harsh texture that grinds against whatever surface they are applied to. On an intricately woven surface like a seat belt, applying too much force can fray the woven fibers and permanently weaken its structural integrity.
Ford, for example, warns against using abrasive cleaners on its seat belts in its Focus manual. Applying a mild fabric cleaner or dish soap onto the material and cleaning it with a sponge, microfiber towel, or a soft brush is a much safer way to clean the safety restraints. Make sure to fully extend the seat belt and secure it with a clamp to keep it from retracting into its spool while you’re working. A vacuum cleaner is also handy for sucking away any dirt on the surface.
Avoid: Window defrosters and antenna elements
We’ve discussed using magic erasers strictly on bare, untinted glass and the dangers they pose to tint film. There’s one more area on your windows to steer clear of, though: window defroster tabs. If you don’t know what these are, they are the contact points that power tiny structures that heat your windows using electricity to melt frost and ice. Not every window has them: The front windshield usually relies on the ventilation system instead, while the rear one uses conductive lines in the glass. In this setup, those lines can even double as integrated antennas.
If your defroster tab has a dirt buildup, don’t go near it with a magic eraser. Doing so can weaken the structural bond holding the tab to the window and, over time, cause it to fall off the window entirely. You can fix this with some activator and glue, but you’d typically want to avoid any damage. As for the conductive lines themselves, a magic eraser can damage the electric circuit by grinding away the delicate metallic lines that conduct electricity.
The same goes for traditional antennas. Many car models still use externally mounted ones. These can rack up dirt over time, but using a magic eraser to clean them can strip away their protective coating. So, if you need to clean any of these areas, stick to a cloth or microfiber towel.