A common problem, especially on older vehicles with deteriorating rubber, is a sticky window seal. This occurs when you roll down your window and the little rubber lip on either side of the window tucks itself in, often folding more and more as you roll the window all the way down. It’ll often sound terrible as well, with that squeaky rubber against the surface of the glass, and it slows your window down because of the increased resistance. The window motor (or the crank, if you’re rocking a manual window roller) has to work extra hard as well. Overall, it’s a weird but not insignificant problem, especially in the summer.
So what can we do about it? There are two main solutions: The first involves refreshing the existing rubber in some way, often good if there’s no cracks and the window just started sticking. The other involves completely replacing your window’s weather stripping by dismantling the door, which sounds insanely complicated but it’s actually not too hard with some basic tools, often less than what you’d need for, say, replacing a windshield’s seals.
Of course, several external factors play into this; if you have a particularly old or rare car, you might not have a choice but to use the original stripping or make your own. Likewise, some cars are simply more complicated than others. There is no-one-size-fits-all formula here, but there are some products and helpful tips that might not have occurred to you. Let’s explore why this happens and what you can do about it.
The easy way: repairing your existing weather stripping
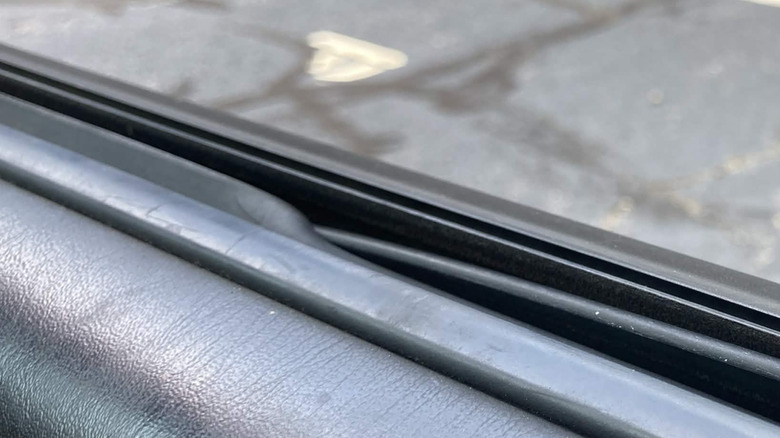
At the end of the day, weather stripping is just a couple of flexible rubber lips on either side of a window. It’s meant to keep the rain and foreign material out of the operating mechanisms of the door and not much beyond that. Classic cars often use extruded rubber strips, whereas modern ones use more expensive but reliable molded variants, with the exact composition and thickness varying from one manufacturer to the next. So if you have a particularly weird car, you might not be able to find anything that’s an exact fit. In that case, it’s time to do self-repair.
Now, let’s assume you don’t have access to a 3D printer to make an all-new unit and you’re stuck with what you have. What do you use? Well, let’s think about this; the inside of the lip is designed to slip along the glass surface, otherwise it’ll just always catch from the factory, so you have to lubricate it somehow. You can’t use a water-based lubricant because that defeats the point of the weather stripping acting as a water retardant. Luckily there’s another option: Silicone-based lubricant.
You get a bottle of silicone-based lubricant and spray it along the inside track of the bottom, sides, and top — anywhere that your window contacts. Spray multiple coats with the straw applicator to get it into the crevasses as well, and use a bottle of regular window cleaner to wipe the excess lubricant off the glass when you’re done. The whole process takes about two minutes per window, and they should function like new. It’s just one of several uses for this product on your car.
What if your weather stripping problem is more serious?
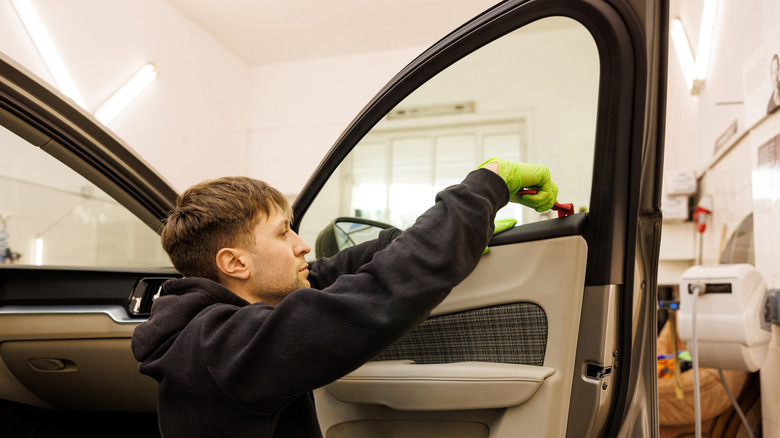
Sometimes lubricating the rubber doesn’t do the trick. Or maybe you bought a used car with ill-fitting aftermarket weather stripping. Cracks or breakages can develop, leading to mold buildup from the moisture creeping in along with potential electrical issues; you might even need to drain your car doors if this happens. If they’re worn down to the point where you can’t just refresh them, then you’ll have to replace the strips entirely. Luckily, like anything else made of rubber, they’re relatively disposable parts that can be replaced.
Close observation shows that a car’s weather stripping runs deeper than just those two rubber lips; it’s a whole thing buried in your door that you need to take out. You may need to open up the door itself to do that, meaning removing the door card on the inside.
Obviously it depends on the car, but a door card is essentially a big insert fastened in place in the metal frame of the door. Common screw locations include your door handle, the outer perimeter of the door, and behind any plastic trim pieces that need to be held there. You take out all the screws and firmly pry the door card off; sometimes it’s also held in place by plastic retainers, so be sure not to damage anything. Once it’s off, dig out the old weather stripping and remove any old adhesive, then lay the new stripping in place. Cut it to fit if it’s an aftermarket replacement, and make sure it’s firmly secured before putting everything back together.
This process might sound intimidating, but there are plenty of YouTube tutorials that can help you get started. Try to find one for your specific make and model for best results.